mysql 可以參考這篇
1. Installing CLI
1
2
3
| npm install --save sequelize
npm install --save sequelize-cli
npm install mysql2
|
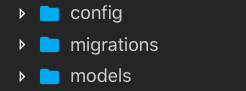
2. Init
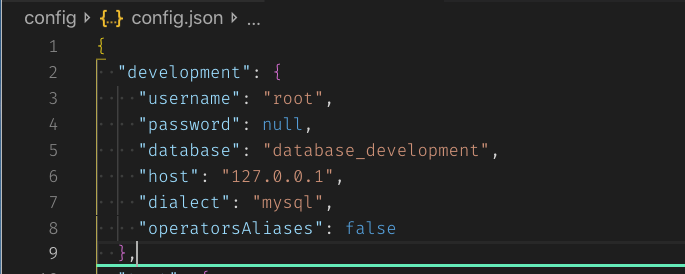
3. 設定相關連線資訊
4. Create Database
1
| npx sequelize-cli db:create mydatabase
|
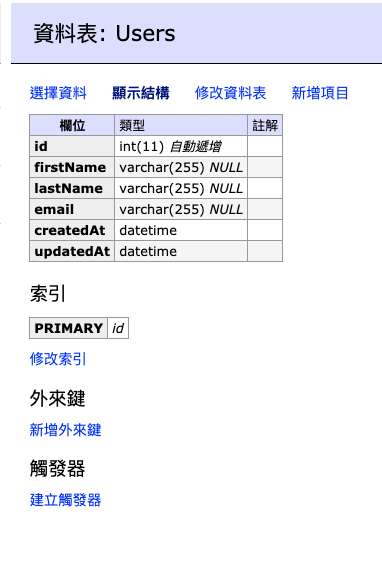
5. Create First Model
1
| npx sequelize-cli model:generate --name User --attributes firstName:string,lastName:string,email:string
|
6. Running Migrations
1
| npx sequelize-cli db:migrate
|
7. Creating First Seed
1
| npx sequelize-cli seed:generate --name demo-user
|
seeders/xxxxxxxxxxxx-demo-user.js
1
2
3
4
5
6
7
8
9
10
11
12
13
14
15
16
17
18
19
20
21
22
23
| 'use strict';
module.exports = {
up: (queryInterface, Sequelize) => {
return queryInterface.bulkInsert(
'Users',
[
{
firstName: 'John',
lastName: 'Doe',
email: 'demo@demo.com',
createdAt: new Date(),
updatedAt: new Date()
}
],
{}
);
},
down: (queryInterface, Sequelize) => {
return queryInterface.bulkDelete('Users', null, {});
}
};
|
8. Running Seeds
1
| npx sequelize-cli db:seed:all
|

Reference
